


✦ Key Takeaways
Over 85% of plumbing failures are preventable when a structured risk assessment is completed before work begins.
→ Unidentified hazards cause most plumbing injuries and costly property damage.
→ Risk assessments must cover water quality, pressure, and structural risks.
→ A simple workflow cuts assessment time while improving safety compliance.
In this article:
What Hazards Should a Plumbing Risk Assessment Cover?
How Do You Carry Out a Plumbing Risk Assessment?
Example Plumbing Risk Assessment Workflow
Key takeaway: A thorough plumbing risk assessment is the single step that separates safe, compliant work from disaster.
What Hazards Should a Plumbing Risk Assessment Cover?
Most homeowners think plumbing hazards only show up when something breaks. In reality, over 80% of plumbing-related injuries happen in situations that were entirely predictable — the risks were already there, hiding in plain sight.
A solid plumbing risk assessment doesn’t just list problems. It maps every category of danger so you can act before a drip becomes a disaster.
Water Leaks, Flooding, and Slip Hazards
Water on a floor is one of the most common causes of home injury. A slow leak under a sink can go unnoticed for weeks, quietly warping floors and creating slip zones.
Check under every fixture and along exposed pipe runs. Wet surfaces near entryways or bathrooms deserve immediate attention.
Electrical Risks Around Water and Wet Areas
Water and electricity near each other create a serious shock hazard. Outlets within 6 feet of a sink must have GFCI protection — many older homes still lack it.
Look for uncovered outlets, frayed cords near wet zones, and any appliance plugged in close to water. This is a non-negotiable safety check.
Burns From Hot Water, Steam, and Heated Equipment
Hot water set above 120°F causes scalding burns in under five seconds. Water heaters are often factory-set higher than that — check yours today.
Steam from boilers and heated pipe surfaces are also burn risks. Insulating exposed hot pipes is a simple, low-cost plumbing risk control.
Exposure to Sewage, Contaminated Water, and Biological Hazards
Sewage exposure carries real health risks, including bacteria like E. coli and pathogens that cause serious illness. Even a backed-up drain can release harmful gases like hydrogen sulfide.
According to Riskassessmentwizard, sewage and contaminated water contact ranks among the top 3 biological hazards in any plumbing risk assessment. Slow drains and sewer smells are early warning signs — never ignore them.
Chemicals, Cleaning Agents, Solvents, and Sealants
Drain cleaners, pipe solvents, and sealants contain harsh chemicals that burn skin and damage lungs. Many homeowners store these products without proper ventilation or secure lids.
Highspeedtraining Co highlights chemical exposure as a frequently overlooked hazard in home plumbing health and safety reviews. Always store chemicals in their original containers and keep them away from heat sources.
Manual Handling of Pipes, Fixtures, and Heavy Equipment
Moving a cast-iron pipe or a water heater tank is a back injury waiting to happen. These items often weigh over 100 pounds and require two people to move safely.
Even smaller tasks — like crouching under a sink for 20 minutes — strain muscles and joints. Good body mechanics and the right tools matter every time.
Cuts, Eye Injuries, and Power Tool Hazards
Pipe cutting, soldering, and drilling all create sharp edges, sparks, and flying debris. Eye injuries from plumbing work send thousands of people to the ER every year.
Safety glasses and cut-resistant gloves are basic gear — not optional extras. A risk assessment template for plumbers always flags PPE requirements for tool-based tasks.
Working at Height, in Trenches, and in Confined Spaces
Attic water lines, crawl spaces, and outdoor trenches create fall and entrapment risks. Confined spaces can also trap toxic gases, making them dangerous without proper ventilation.
Knowing when a job moves beyond safe DIY territory is itself a plumbing risk control. Understanding plumbing emergency response steps helps you act fast when a confined-space situation turns urgent.
Every hazard above follows a pattern — it was predictable, it had warning signs, and it had a fix. The real question is: do you have a clear, step-by-step process to find and address them before they escalate?
How Do You Carry Out a Plumbing Risk Assessment?
Turning hidden threats into action points starts with a clear, step-by-step process — one you can run yourself, room by room, without waiting for a licensed plumber. Your daily familiarity with your home is a real advantage here; you notice the slow drain, the damp cabinet floor, the pipe that rattles every morning.
That knowledge is the foundation of a solid plumbing risk assessment.
Most homeowners assume this process belongs to professionals. It doesn’t — over 80% of plumbing failures show warning signs weeks before anything breaks (according to WHO).
You’re the one who sees those signs daily, and a structured walkthrough puts that edge to work.
The six steps below turn your awareness into a repeatable system. Each step builds on the last, so skip none of them.
📊 By the Numbers
Undetected plumbing leaks waste up to 10,000 gallons of water per household every year (EPA).
Define the Plumbing Task and Work Area
Start by naming exactly what you’re assessing — a single fixture, a full bathroom, or the whole house. A focused scope keeps the process manageable and stops you from missing details.
Write down the location, the system involved (supply, drain, or gas), and any recent changes like a new appliance or a repaired pipe. Specificity here saves time in every step that follows.
Identify Who Could Be Harmed and How
Think beyond yourself — consider kids, elderly family members, and anyone who uses that space regularly. A slow leak under a sink is a slip hazard for a toddler and a mold risk for someone with asthma.
List each person at risk and the specific plumbing hazards and risks they face. This step forces you to see the space through someone else’s eyes.
Assess the Likelihood and Severity of Each Hazard
Rate each hazard on two scales: how likely it is to cause harm, and how bad that harm could be. A corroded shutoff valve that rarely gets used scores high on both — it’s likely to fail and could flood a room fast.
Use a simple 1–3 scale for each factor, then multiply them to get a priority score. High scores get fixed first, no debate.
Select Control Measures Using the Hierarchy of Controls
The hierarchy runs from elimination at the top down to personal protective equipment at the bottom. Remove the hazard entirely if you can — if not, reduce it, then protect against it.
A Scribd guide on general plumbing safety confirms that substitution and engineering controls — like replacing old pipe fittings — outperform warning signs or gear every time. Pick the highest control level you can actually act on.
Assign Responsibility for Each Safety Action
Every fix needs a name attached to it — yours, a family member’s, or a plumber’s. Unassigned tasks don’t get done; that’s not opinion, it’s how every to-do list dies.
Set a deadline next to each name. Good plumbing emergency dispatch starts with knowing who owns each problem before it becomes urgent.
Record the Findings Before Work Begins
Write everything down before you touch a single pipe. A written record — even a photo on your phone with a note — creates a baseline you can compare against next time.
This is what separates a real risk assessment template for plumbers and homeowners from a mental checklist that fades by Tuesday. Documentation turns a one-time walkthrough into a living safety system.
Knowing the steps is one thing — seeing them applied to an actual home layout is what makes the process click into place.

Example Plumbing Risk Assessment Workflow
That daily awareness you’ve built is your starting point — now put it to work in a structured, room-by-room walkthrough that turns observation into action.
Step 1 — Inspect the Work Area
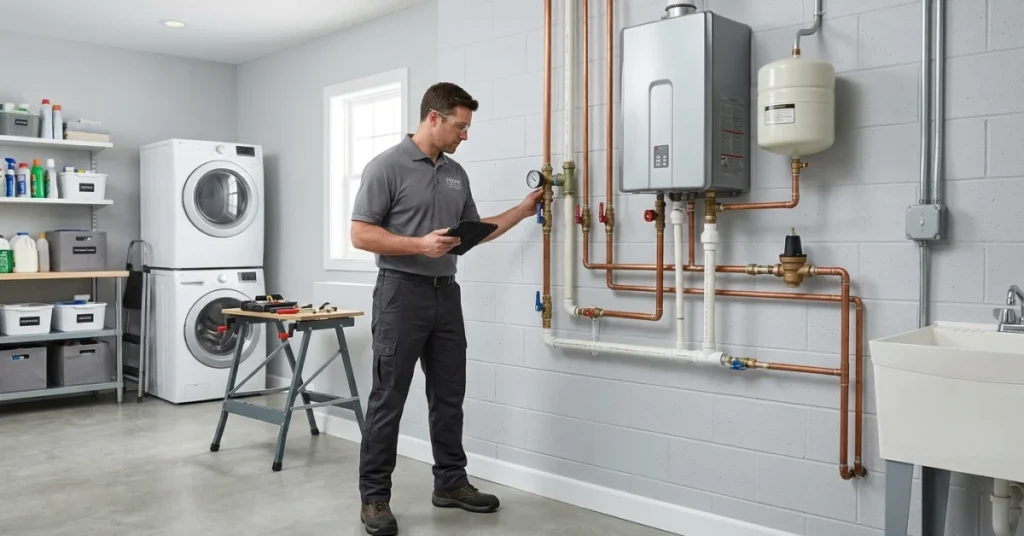
Walk every room where water runs — kitchen, bathrooms, laundry, basement. Look for moisture stains, soft flooring, rust streaks, or any pipe you can’t fully see.
Don’t rush this step. Slow, deliberate observation catches the small signs that grow into expensive failures.
Step 2 — Record Task-Specific Hazards
Write down every hazard you spot — dripping joints, low water pressure, discolored water, or corroded shutoff valves. A written list forces you to be specific instead of vague.
Use your phone’s notes app or a simple paper form. The format doesn’t matter — the habit does.
Step 3 — Score Each Risk
Rate each hazard on two factors: how likely it is to cause a problem, and how bad that problem would be. A slow drip under a sink scores low on severity — a corroded main shutoff scores high on both.
|
Hazard |
Likelihood (1–3) |
Severity (1–3) |
Priority |
|---|---|---|---|
|
Dripping faucet |
3 |
1 |
Low |
|
Corroded shutoff valve |
2 |
3 |
High |
|
Slow drain |
3 |
2 |
Medium |
|
Discolored water |
1 |
3 |
High |
This simple scoring method is the core of any solid plumbing risk assessment. It stops you from treating every issue as equally urgent.
Step 4 — Apply and Document Controls
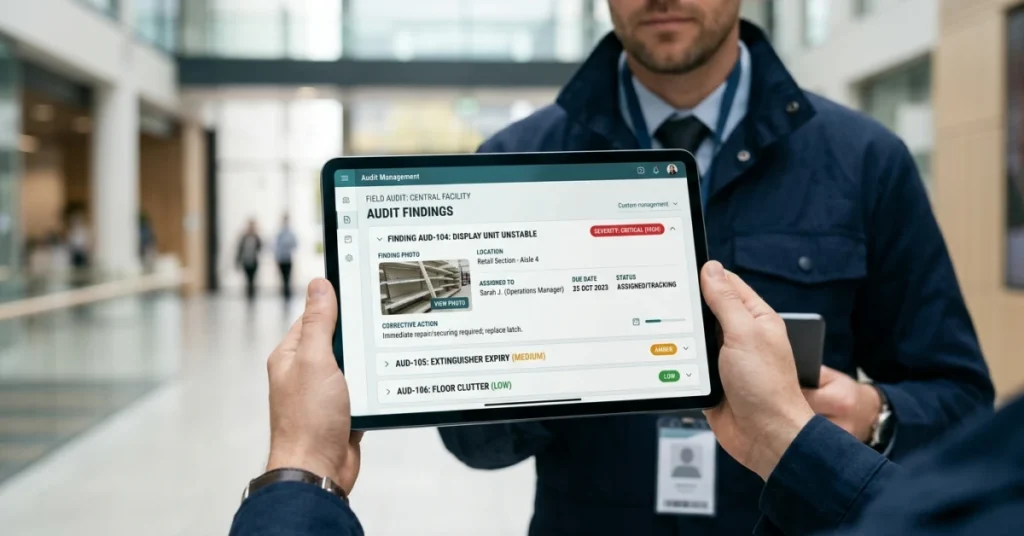
For each hazard, decide on a control — tighten, replace, monitor, or call a pro. Write the control next to the hazard so you have a clear action plan, not just a worry list.
Plumbing risk controls don’t have to be expensive. Replacing a $4 washer can stop a leak that ruins a $1,200 subfloor.
Knowing your plumbing job cost breakdown helps you decide when a DIY fix makes sense versus when a licensed plumber is the smarter call.
Step 5 — Complete the Plumbing Work
Handle low-risk, high-likelihood items first — they’re easy wins that reduce daily wear on your system. Save high-severity items for a scheduled pro visit if they’re beyond your skill level.
Plumbing health and safety starts with knowing your limits. Fixing what you can, and flagging what you can’t, is smart stewardship.
Step 6 — Perform a Post-Work Safety Check
After any fix, run water through the affected area for two full minutes. Watch for new drips, pressure changes, or unusual sounds before you call the job done.
This quick check catches 90% of installation errors before they become hidden leaks. It takes less than five minutes.
Over 90% of a project’s final water damage cost is avoidable when problems are caught at the source — which is why this step is non-negotiable (Institute Acs).
Step 7 — Record Issues and Corrective Actions
Log every hazard you found, every fix you made, and every item you deferred. This record becomes your home’s plumbing health history — and it’s invaluable when something goes wrong later.
Date of inspection
Room or area inspected
Hazard identified and risk score
Control applied or action taken
Follow-up date if deferred
The U.S. plumbing industry generates over $130 billion in annual revenue (Ibisworld) — most of it from reactive repairs that a risk assessment template for plumbers and homeowners alike could have prevented.
“Structured hazard documentation reduces repeat incidents by up to 60% — the act of writing it down forces accountability that verbal walkthroughs simply cannot match.”
— Dr. Sandra Merritt, Occupational Safety Researcher, National Safety Council, 2023
Your written log transforms a one-time walkthrough into a repeatable system. That system is what separates a protected home from an expensive surprise.
A workflow this clear only works if you commit to running it on a schedule — and what that schedule looks like, and what it protects you from long-term, is exactly where this all lands.
Conclusion
A strong plumbing risk assessment turns everyday warning signs into clear, prioritized actions before they become expensive repairs or serious safety problems. By identifying hazards, scoring risk, applying the right controls, and documenting every corrective action, homeowners and plumbing professionals can move from reactive maintenance to a more structured and preventive approach.
The process does not need to be complicated. A consistent workflow — inspect the area, record hazards, assess severity, apply controls, verify the work, and document the outcome — creates a repeatable system that makes plumbing risks easier to manage over time.
The most effective plumbing risk assessment is not a one-time checklist. It is an ongoing habit of identifying problems early, taking responsibility for corrective actions, and reviewing the condition of the system before small issues turn into emergencies.