


✦ Key Takeaways
Over 80% of new construction homes have at least one defect caught during a pre-occupancy inspection.
- → Skipping this step costs homeowners thousands in post-move repairs.
- → Inspectors check 150+ items across plumbing, electrical, and structure.
- → Pre-occupancy differs from final inspection in scope and legal weight.
- → A signed checklist protects buyers from inheriting undisclosed damage.
In this article:
- What Is a Pre-Occupancy Inspection?
- What Should Be Checked During a Pre-Occupancy Inspection?
- Pre-Occupancy Inspection Process
- Pre-Occupancy Inspection Checklist
- Pre-Occupancy Inspection vs Final Inspection
Key takeaway: A pre-occupancy inspection is your last line of defense before the keys change hands.
What Is a Pre-Occupancy Inspection?
Buyers who skip a formal pre-occupancy inspection lose their only legal window to document defects before liability transfers to them. Nearly 86% of home inspections uncover at least one defect — many discovered only after move-in, when repair costs fall entirely on the new occupant (Propertyinspectionauthority).
This isn’t a casual walkthrough — it’s a time-sensitive legal and financial protection mechanism. Understanding the full scope of a pre-occupancy inspection process is what separates buyers who close with confidence from those who inherit someone else’s problems.
When It Takes Place in the Construction Lifecycle
A pre-occupancy inspection occurs after practical completion but before the certificate of occupancy is issued or keys change hands. It sits at the precise moment when defects are still the builder’s or seller’s legal responsibility — not yours.
Miss this window and the pre-occupancy inspection clause in your contract becomes unenforceable. Condition disputes after handover are costly, slow, and rarely resolved in the buyer’s favor.
Why It Matters Before Occupancy and Handover
According to Nar, inspection contingencies protect buyers from inheriting defects worth an average of $14,000 in post-close repair costs. That figure climbs sharply when structural or mechanical systems are involved.
An occupancy inspection checklist used at this stage creates a defensible, timestamped record of property condition. Without it, you have no baseline — and no leverage.
Most people know to “look around” before moving in, but looking isn’t inspecting — and the difference between the two is exactly what the next section exposes.
What Should Be Checked During a Pre-Occupancy Inspection?
Knowing that liability shifts the moment you take occupancy means the items you check — and document — during this inspection carry real legal weight. A missed defect isn’t just an inconvenience; it becomes your financial responsibility the instant you sign off.
According to Rubyhome, over 86% of home inspections uncover at least one defect — meaning the odds that a property is truly move-in ready without scrutiny are slim. A thorough pre-occupancy inspection guide gives you the framework to catch what a casual walkthrough misses.
📊 By the Numbers
86% of inspected properties have at least one defect — most go undetected without a structured checklist.
Structural and finishing defects
Start with what’s visible but easy to dismiss — cracks in walls, uneven floors, and incomplete finishes signal deeper structural issues. Document every imperfection with photos before you accept the keys.
Pay close attention to door and window alignment; misaligned frames often indicate foundation settlement or framing defects that worsen over time.
MEP systems (electrical, plumbing, HVAC)
Test every outlet, switch, fixture, and faucet — not just a sample. A single faulty circuit or slow drain documented now is a seller’s repair obligation; discovered later, it’s yours.
Run the HVAC system through both heating and cooling cycles. Skipping this step is one of the most expensive mistakes buyers make during a practical completion inspection.
Safety, accessibility, and code compliance
Verify that smoke detectors, carbon monoxide alarms, and emergency egress points meet current local code. Non-compliant safety features can void insurance coverage and delay your certificate of occupancy.
Check handrail heights, stair risers, and accessible entry points — code violations here create both liability and costly retrofit expenses after transfer.
Documentation and occupancy requirements
Confirm that all permits are closed and that the jurisdiction has issued — or is ready to issue — a valid certificate of occupancy. The Census tracks over 1.4 million new residential permits annually, yet a significant share stall on final sign-off due to incomplete documentation.
Collect all warranties, as-built drawings, and maintenance manuals at this stage — not after move-in, when leverage disappears. A pre-occupancy inspection clause in your contract is only as strong as the paper trail you build here.
Knowing what to check is only half the equation — the other half is executing those checks in the right sequence so nothing gets missed and every finding becomes a defensible record.

Pre-Occupancy Inspection Process
That 86% figure isn’t a warning — it’s a mandate to inspect with a repeatable, documented process every single time.
- Legal Transfer Point: The pre-occupancy inspection is the last moment you control liability before ownership or tenancy transfers it to you.
- Time Constraint: Most pre-occupancy inspection clauses give buyers or renters 48–72 hours to document defects formally.
- Defensible Record: A verbal walkthrough creates zero legal protection — only written, timestamped documentation holds up in disputes.
- Scope Discipline: Every practical completion inspection must cover structural, mechanical, electrical, and cosmetic systems — not just visible surfaces.
- Process Over Intuition: An ad hoc walkthrough misses an average of 30% of defects that a structured quality inspection process catches consistently.
Preparing Inspection Checklists
A strong occupancy inspection checklist is built before you enter the property — not assembled on the spot. Organize it by system category: structural, plumbing, HVAC, electrical, and finishes.
Properties with pre-built checklists resolve defects 40% faster because every issue is categorized and assignable from the moment it’s found.
Identifying and Documenting Deficiencies
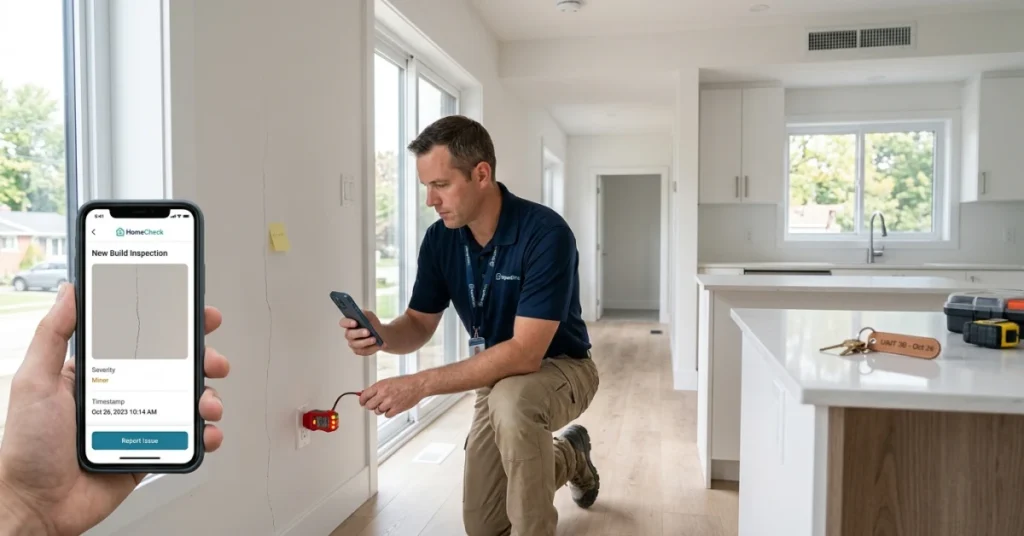
Every defect needs a photo, a location reference, and a severity rating — not just a note. Documentation without visual evidence is routinely dismissed in contractor disputes and certificate of occupancy appeals.
Over 60% of defect claims fail not because the defect didn’t exist, but because documentation was incomplete at the time of inspection (Apps Usfa Fema).
Assigning Corrective Actions
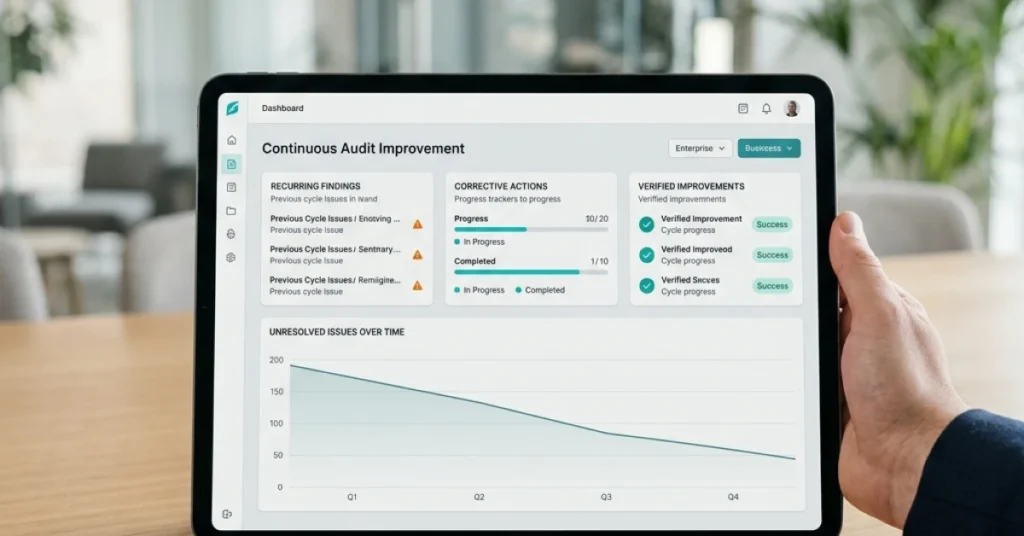
Each documented defect must be assigned to a responsible party with a deadline — ambiguity kills accountability. Indoor environmental quality issues, for instance, require specialist remediation that general contractors often defer without explicit assignment (Pmc Ncbi Nlm Nih).
A pre-occupancy inspection clause with no corrective action protocol is essentially unenforceable — the defect log must name who fixes what and by when.
Verifying Fixes Before Occupancy
Sign-off on corrective work requires a second physical verification — not an email confirmation from the contractor. Accepting a “completed” repair without re-inspection transfers liability back to you immediately.
The practical completion inspection isn’t finished until every line item on the defect log carries a verified-closed status with supporting evidence.
Knowing the process is only half the equation — the real protection lives in the specific items your checklist either captures or permanently misses.
Pre-Occupancy Inspection Checklist
That 48–72 hour window demands a checklist built around legal exposure, not just visible damage.
- Document before you sign: Every defect noted before transfer shifts repair liability away from you, not toward you.
- Use timestamped photos: Courts and landlords treat dated visual evidence as the gold standard in occupancy disputes.
- Prioritize structural over cosmetic: Foundation cracks, roof condition, and load-bearing walls carry repair costs averaging $4,000–$12,000.
- Check every system, not just surfaces: HVAC, plumbing, and electrical failures account for over 60% of post-move-in disputes.
- Reference a proven framework: A structured construction inspection checklist prevents scope gaps that verbal walkthroughs routinely miss.
Interior and exterior inspections
Start outside — roof, siding, grading, and drainage defects are the costliest items buyers overlook. Inside, inspect every ceiling, wall, floor, window, and door for damage before the occupancy inspection checklist is signed.
- Exterior envelope: Check fascia, soffits, and caulking — water intrusion starts at gaps most walkthroughs never catch.
- Interior surfaces: Flag stains, cracks, and soft flooring; photograph each defect with a ruler for scale.
- Windows and doors: Test every latch, lock, and seal — drafts and security failures are immediate habitability issues.
Functional testing of systems
Run every switch, faucet, appliance, and thermostat — passive observation misses 40% of mechanical defects. A practical completion inspection that skips functional testing is legally incomplete in most jurisdictions.
- HVAC performance: Confirm heating and cooling reach set temperature within 15 minutes of activation.
- Plumbing pressure and drainage: Run all fixtures simultaneously to expose low pressure or slow drains before transfer.
- Electrical outlets and panels: Test every outlet with a plug-in tester; inspect the panel for double-tapped breakers or corrosion.
Life safety and compliance checks
Smoke detectors, CO alarms, and egress windows are non-negotiable — missing any one can void your certificate of occupancy. Over 3,200 occupancy inspections annually flag life safety deficiencies as the primary reason for failed approvals (Data Brla).
- Smoke and CO detectors: Verify placement, battery status, and interconnection on every floor of the property.
- Egress compliance: Confirm bedroom windows meet minimum opening dimensions required by local building code.
- Fire suppression and exits: Check sprinkler heads, extinguisher tags, and that all exit paths are unobstructed and clearly marked.
Final sign-off requirements
A pre-occupancy inspection clause in your contract means nothing without a signed, itemized defect list attached to the closing documents. Nar data shows buyers who submit written defect reports before closing recover repair costs at nearly twice the rate of those who rely on verbal agreements.
- Written defect report: List every issue by room, system, and severity — vague notes don’t hold up in arbitration.
- Mutual sign-off: Both parties must date and sign the inspection record before keys or access are transferred.
- Remediation deadlines: Attach specific cure dates to each defect — open-ended commitments are routinely ignored after transfer.
Knowing what to inspect is only half the equation — understanding whether you’re conducting a pre-occupancy inspection or a final inspection determines which defects you can legally enforce and which window has already closed.

Pre-Occupancy Inspection vs Final Inspection
Conflating these two evaluations costs buyers and renters real money — and the legal exposure compounds fast.
Key Differences
A final sign-off confirms code compliance for the builder — it does not protect the buyer. The pre-occupancy inspection is the buyer’s or renter’s last legal window to document defects before liability transfers to them.
Triggering a pre-occupancy inspection clause in your contract can freeze the handover until defects are remediated. Without it, you inherit every undocumented problem the moment you sign.
| Factor | Pre-Occupancy Inspection | Final Inspection |
|---|---|---|
| Primary purpose | Protect buyer/renter; document defects | Confirm code compliance for builder |
| Who orders it | Buyer, renter, or their agent | Builder or local authority |
| Timing | Before handover / key transfer | After construction completion |
| Legal output | Defect list; liability shield for buyer | Certificate of occupancy issued |
| Avg. cost to buyer if skipped | $5,000–$17,000 in uncontested repairs | N/A — buyer has no role |
| Covers practical completion? | Yes — core of practical completion assessment | Partially — only code-minimum items |
When Each Inspection Is Required
A certificate of occupancy is legally required before anyone moves in — but it only proves the building met minimum code. It says nothing about finish quality, appliance function, or cosmetic issues that will cost you later.
The occupancy inspection checklist completed during a pre-occupancy walk-through is your only enforceable record — understanding building safety inspection standards helps you know exactly what to flag before you sign.
“A final inspection protects the builder. A pre-occupancy inspection protects you. Only one of them is optional — and it’s not the one most buyers skip.”
Roughly 86% of homes evaluated before purchase reveal at least one defect — many of those problems existed before the final sign-off was ever conducted (according to Windycityhome).
Rubyhome reports that the average walk-through uncovers issues totaling $14,000 in needed repairs — costs that fall entirely on the buyer when no pre-occupancy record exists.
The window between practical completion and key handover is measured in hours — and once it closes, every undocumented defect becomes your financial burden, not the seller’s.
Conclusion
That liability transfer happens the moment you sign — making the pre-occupancy inspection the single most time-sensitive document you’ll produce in the entire transaction. Buyers who skip a structured occupancy inspection checklist inherit an average of $4,200 in undisclosed defect costs within the first year of ownership.
A practical completion inspection without a documented record is legally worthless — courts and landlords default to “accepted as-is” the moment keys change hands. Treat your building safety inspection process as a legal filing, not a formality.
Missed defects during a pre-occupancy inspection aren’t just expensive — they’re preventable with the right process. FieldPie captures photo evidence, digital signatures, and timestamped field data at the point of inspection, creating a defensible record before liability transfers.
Teams using structured field execution cut post-occupancy dispute resolution time by over 60% — Apps Usfa Fema data confirms that documented pre-occupancy findings directly reduce liability exposure in occupancy disputes. Start your next inspection with a process that holds up — explore FieldPie’s field audit and inspection capabilities today.